
Tempering Chocolate in a Warm Australian Kitchen: A Foolproof Guide
It’s 35°C in Melbourne, the fan is on, and you’ve just watched your beautifully melted dark chocolate turn into a dull, streaky mess on the bench. We’ve all been there — especially when you’re trying to finish a pavlova topping before the guests arrive. Tempering chocolate in an Australian summer feels like a cruel joke, but it’s genuinely worth mastering. Once you understand what’s happening inside the chocolate, you can work with the heat instead of fighting it, and your desserts will come out glossy, snappy and professional every time.
Why Tempering Matters (Especially in Our Climate)
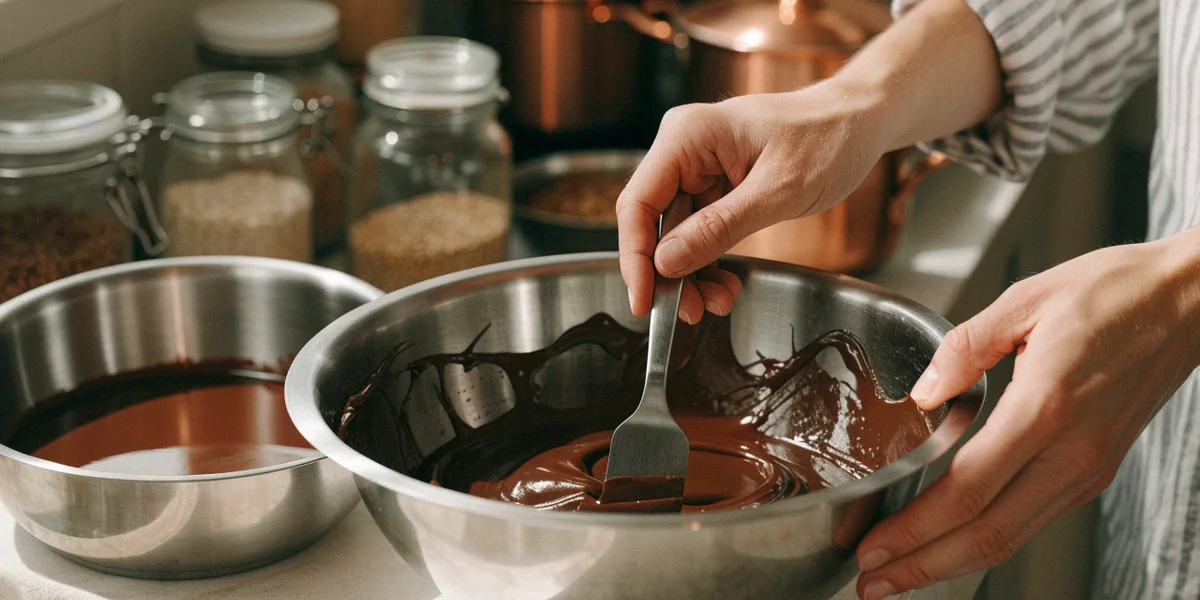
Tempering isn’t just a fancy patisserie term — it’s the difference between chocolate that snaps cleanly and chocolate that looks like it melted and gave up. For anyone serious about Australian desserts, it’s a core skill.
The Science Behind Tempering
Cocoa butter is a polymorphic fat, which means it can crystallise into six different forms. Only one of them — the stable beta crystal, Form V — gives you that glossy shine and satisfying snap. Tempering is the process of heating chocolate to melt all existing crystals, cooling it to form the right ones, then gently warming it back to a workable temperature. Get it right and your chocolate sets firm and shiny at room temperature. Get it wrong and you’re left with soft, streaky chocolate that blooms within hours.
How Australian Heat Affects Chocolate
In Brisbane and Sydney, humidity is the silent saboteur. Moisture in the air can seize melted chocolate in seconds, and ambient heat slows crystallisation so much that your working bowl never quite sets. Melbourne’s dry summer heat is a little kinder, but a 38°C day will still undo your best efforts. This is exactly why tempering matters more here than in a cool European kitchen — and why a perfectly tempered chocolate topping on a pavlova or a lamington is such a point of pride for Australian home bakers.
The Tools You Need (Without Breaking the Bank)
You don’t need a commercial tempering machine. A few well-chosen tools will get you 90% of the way there.
Essential Equipment
- A digital thermometer — accurate to 1°C. This is non-negotiable.
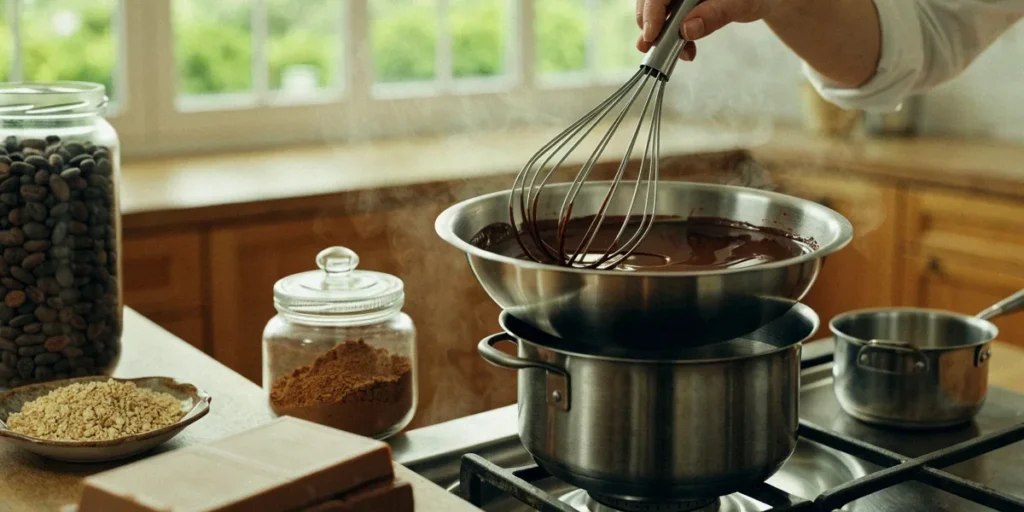
- A double boiler or a heatproof bowl over a saucepan of simmering water.
- A microwave-safe bowl if you prefer the microwave method.
- A silicone spatula and a dry metal spoon.
- A cool spot — air-conditioned room, or a bench near an open window in winter.
Nice-to-Have Tools
A marble slab or granite bench is ideal for the tabling method, though a cold stainless-steel tray works in a pinch. Local ceramic bowls from Wheel & Barrow hold heat gently and look lovely on the bench, while a KitchenAid stand mixer is handy for whipping ganache once your chocolate is tempered. If you’re tempering often, a chocolate dipping fork and a set of moulds are worthwhile additions.
Step-by-Step Tempering Methods for Warm Days
We use three methods depending on the day. On hot days, we always work in air-conditioning, chill our bowls beforehand, and keep an ice bath within arm’s reach. Callebaut is a widely available couverture chocolate brand in Australia and a reliable choice because it’s already well-tempered and forgiving. Chocolate Grove, an Australian chocolate manufacturer based in Melbourne, is another favourite for its consistent cocoa butter content.
Seeding Method
- Chop two-thirds of your chocolate finely and melt it gently to 45–50°C for dark, 45°C for milk.
- Remove from heat and add the remaining one-third, chopped, as “seed” chocolate.
- Stir continuously until the seed melts and the temperature drops to 27°C for dark, 27°C for milk.
- Return briefly to the heat and bring it back to 31–32°C for dark, 29–30°C for milk. It’s now ready to use.
Tabling Method
Pour two-thirds of your melted chocolate onto a cool marble slab or stainless-steel tray and spread it with a scraper, moving it back and forth until it thickens and reaches 27°C. Scrape it back into the bowl with the reserved warm chocolate, stir to combine, and warm gently to working temperature. On a 35°C day, chill your slab in the fridge for ten minutes first — it makes a huge difference.
Microwave Method
Place two-thirds of your chopped chocolate in a microwave-safe bowl and heat in 30-second bursts at 50% power, stirring between each. Once melted, add the remaining chocolate and stir until it melts and the temperature drops to 27°C. Then heat in 5-second bursts until you hit working temperature. This method is fastest but least forgiving, so keep that thermometer close.
Troubleshooting: When Things Go Wrong
Even experienced bakers have off days. Here’s how we handle the two most common problems.
Fixing Bloom
Bloom appears as grey streaks or a chalky surface — it means your chocolate set at the wrong temperature. It’s still perfectly safe to eat. To fix it, simply re-temper the chocolate from scratch. To prevent it, never let tempered chocolate sit above 32°C, and avoid sudden temperature swings.
Rescuing Seized Chocolate
Seized chocolate turns grainy and stiff when even a drop of water gets in. Don’t panic — and definitely don’t add more water. Instead, stir in a teaspoon of neutral oil or a little cocoa butter (Chef’s Choice makes a good one) until it smooths out. If it’s beyond saving for coating, use it in brownies, ganache or hot chocolate instead. Prevention is simple: dry every utensil and bowl before you start.
Australian-Inspired Chocolate Creations
Once your chocolate is tempered, the fun begins. Here are three ideas that celebrate our local dessert culture.
Chocolate Pavlova
Pavlova is a quintessential Australian dessert often topped with chocolate, and a drizzle of tempered dark chocolate over whipped cream and berries takes it to another level. The contrast of crisp meringue, cool cream and snappy chocolate is unbeatable.
Lamington Truffles
Lamingtons are a classic Australian cake that can be transformed into truffles. Roll balls of coconut-raspberry cake crumbs with a little ganache, dip them in tempered chocolate, then roll in desiccated coconut. They disappear at every BBQ we take them to.
Melbourne Patisserie Classics
Melbourne’s Brunetti patisserie is famous for its chocolate desserts, and a visit there is the best inspiration you’ll find. LuxBite in South Yarra is another favourite for playful, modern patisserie. Try recreating a simple chocolate entremet at home — a tempered chocolate glaze over a mousse cake is easier than it looks.
Storing and Serving Tempered Chocolate in the Heat
Storage matters as much as technique when the mercury climbs.
Short-Term Storage
Keep tempered chocolate in an airtight container in the coolest pantry you have — ideally below 20°C. Avoid the fridge unless it’s absolutely necessary, because condensation will ruin the finish. If you must refrigerate, wrap tightly and let it come back to room temperature before unwrapping.
Serving at Events
For BBQs and Christmas in July gatherings, serve chocolate desserts straight from a cooler or an insulated box, and plate them just before guests dig in. A tempered chocolate shard on top of a pavlova or a truffle platter looks stunning when it’s still glossy — and that shine is exactly what you’ve worked for.
FAQ
Can I temper chocolate without a thermometer?
You can, but it’s risky, especially in an Australian summer. A digital thermometer costs under $20 and takes all the guesswork out. We strongly recommend one.
Why did my tempered chocolate turn white the next day?
That’s bloom, caused by setting at the wrong temperature or by a sudden temperature change. Re-temper the chocolate and store it somewhere cooler and more stable.
Is Callebaut or Chocolate Grove better for home tempering?
Both are excellent. Callebaut is widely available and very forgiving, while Chocolate Grove, made in Melbourne, offers great local freshness. Try both and see which suits your kitchen.
Can I temper chocolate in the fridge?
No — the fridge cools too quickly and creates unstable crystals. Use an ice bath to cool the bowl if your kitchen is hot, but never the fridge itself.
What’s the easiest chocolate dessert for a beginner?
Lamington truffles. They’re forgiving, use up cake scraps, and give you plenty of practice with tempered chocolate without the pressure of a perfect finish.
Tempering chocolate in a warm Australian kitchen takes practice, but it’s absolutely doable once you understand the science and adjust for our climate. Work in the coolest spot you have, keep your tools dry, trust your thermometer, and don’t be discouraged by the occasional bloom. Every batch teaches you something. When you nail that glossy, snappy finish, share a photo on social media and tag us — we love seeing what our readers create.