
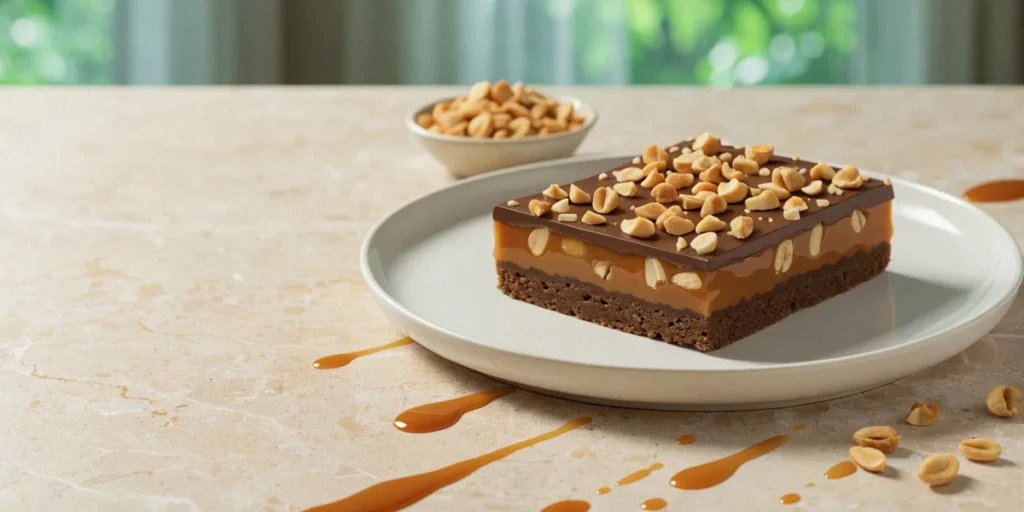
A Chocolate, Peanut and Caramel Slice Inspired by Classic Bars
There’s a certain chocolate bar we all remember from the school canteen or the corner shop — the one with the chewy caramel, the salty peanuts and the thick chocolate coating that snapped when you bit into it. This slice is our home-baker’s tribute to that memory. It takes everything we love about those classic bars and turns it into a tray of neat squares you can make in your own kitchen, no tempering machine or fancy equipment required.
Why This Slice Deserves a Spot in Your Baking Rotation
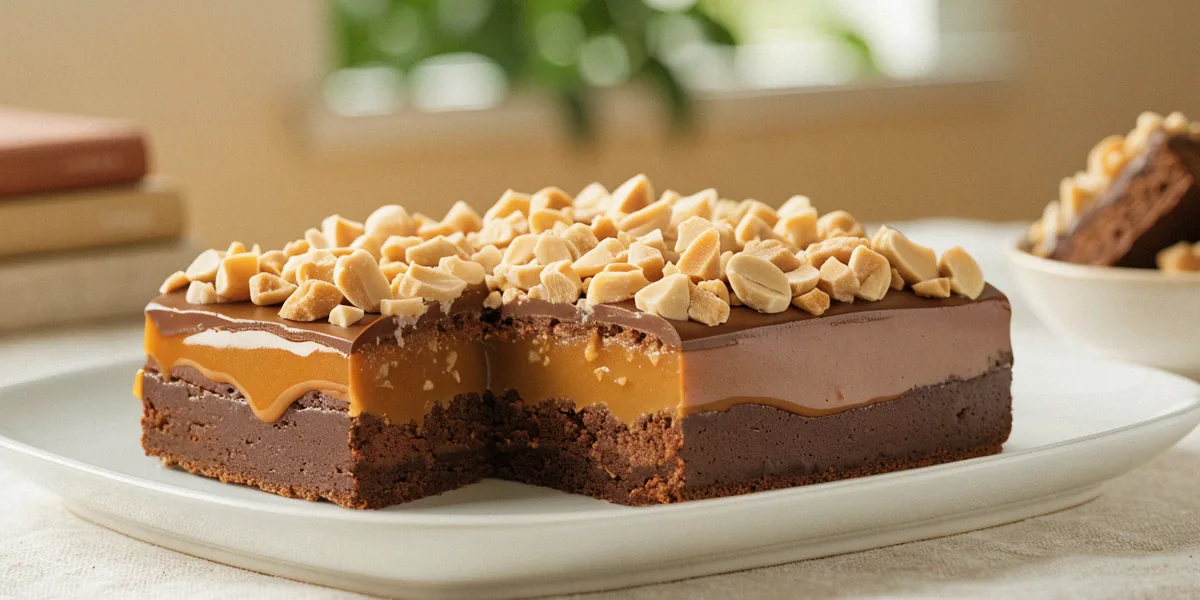
Slices occupy a special place in Australian home baking. They’re the quiet achievers of the baking world — less fussy than a layered cake, easier to transport than a tart, and always the first thing to disappear at a school bake sale or a Sunday morning tea. This particular slice ticks every box: a no-bake biscuit base, a soft caramel layer that stays chewy rather than grainy, roasted peanuts for crunch and salt, and a dark chocolate top that sets to a clean snap.
It also keeps beautifully. Made on a Friday, it will still be excellent on Wednesday, which makes it ideal for lunches, visitors and last-minute contributions.
The Classic Bars That Inspired Us
The flavour combination of chocolate, peanut and caramel is a global one, but it’s the Australian chocolate bar aisle that shaped our version. Think of the chewy, nutty bars that have been lunchbox staples for decades — the ones where caramel does most of the heavy lifting and the chocolate is generous rather than thin. We wanted that same contrast of textures in slice form: soft base, yielding caramel, crunchy nuts, firm chocolate.
What Makes a Great Australian Slice
A good slice needs structure and generosity in equal measure. In our experience, the best ones share a few traits:
- A base that holds together when cut but isn’t rock hard
- A filling with real flavour rather than just sweetness
- A topping thick enough to crack cleanly under a knife
- Ratios that let you taste every layer in a single bite
Get those four things right and you’ve got a slice that rivals anything on a bakery counter.
Ingredients and Equipment You’ll Need
Everything here is available at any Australian supermarket. We use metric measurements throughout, and a 20cm x 30cm slice tin is the standard size for this recipe.
- 250g plain sweet biscuits — Arnott’s Marie biscuits are a common base for Australian slices, and Arnott’s Nice biscuits work just as well
- 150g unsalted butter, melted
- 395g can sweetened condensed milk — condensed milk is widely used in Australian slice recipes because it gives caramel its silky set
- 60g golden syrup — golden syrup is a key ingredient in many Australian caramel recipes, and it’s what stops the caramel from turning grainy
- 100g roasted unsalted peanuts, roughly chopped
- 200g dark chocolate, around 55–70% cocoa
- 20g extra butter or 1 tablespoon of cream, for the chocolate topping
Equipment-wise, you’ll need a 20cm x 30cm slice tin, baking paper, a small saucepan, a wooden spoon or spatula, a food processor (or a zip-lock bag and a rolling pin), and a sharp knife for cutting.
The Biscuit Base: Which Biscuits Work Best
Marie biscuits are the classic choice — they’re plain, crisp and crush down to a fine, even crumb without too much sweetness. Nice biscuits add a faint coconut note, which some bakers prefer. Avoid anything with a cream filling, as it makes the base greasy and soft.
Caramel Layer Essentials: Condensed Milk and Golden Syrup
The caramel is a simple stovetop mixture of condensed milk, golden syrup and butter. Stir it constantly over medium heat and it will thicken into a pourable, glossy caramel in about 8–10 minutes. Golden syrup does double duty here: it adds a gentle, treacly flavour and helps prevent crystallisation.
Chocolate and Peanut Topping
Dark chocolate keeps the slice from becoming too sweet, and the peanuts go in two places — some stirred through the caramel for texture, the rest scattered over the top before the chocolate sets.
Step-by-Step: Making the Slice
The whole process takes about 30 minutes of active time, plus chilling. We usually make it in the evening and cut it the next morning.
Making and Pressing the Base
- Line your slice tin with baking paper, leaving overhang on two sides for easy lifting.
- Blitz the biscuits in a food processor until they resemble fine sand. You should have roughly 2 cups of crumbs.
- Pour in the melted butter and pulse until the mixture holds together when squeezed.
- Tip into the tin and press firmly and evenly with the back of a spoon or the base of a glass. Refrigerate for 20 minutes while you make the caramel.
Cooking the Caramel Without Burning It
Combine the condensed milk, golden syrup and butter in a small saucepan over medium heat. Stir continuously with a spatula, scraping the base and corners, for 8–10 minutes. The caramel is ready when it thickens enough to coat the back of the spoon and holds a brief trail when you drag the spatula through it. If it starts to catch or smell toasty, pull it off the heat immediately and lower the flame.
Adding Peanuts and the Chocolate Top
Stir two-thirds of the peanuts through the warm caramel, then pour it over the chilled base and spread it level. Return the tin to the fridge for 30 minutes. Melt the dark chocolate with the extra butter over low heat, stirring until smooth, then pour it over the caramel. Scatter the remaining peanuts on top and chill for at least 2 hours, ideally overnight, until the chocolate is fully set.
Tips for Perfect Layers and Clean Slices
Most slice problems come down to temperature and patience. Here’s how we avoid the common pitfalls.
How to Get Neat, Even Squares
- Chill thoroughly before cutting — a warm slice will smear at the caramel line
- Use a sharp knife dipped in hot water, then wiped dry between cuts
- Press straight down rather than sawing, so the chocolate doesn’t crack unevenly
- Trim the edges first for a tidy, bakery-style finish
Storage and Make-Ahead Advice
Store the slice in an airtight container in the fridge for up to a week, or freeze individual squares wrapped in baking paper for up to three months. It also travels well, which is why it’s a staple at Australian bake sales and morning teas.
Variations and Serving Ideas
Once you’ve nailed the base recipe, it’s easy to make it your own.
Flavour Twists We Love
- Swap dark chocolate for milk chocolate for a sweeter, softer top
- Add a pinch of flaky sea salt to the caramel for a salted version
- Replace peanuts with macadamias for a richer, more Australian twist
- Drizzle melted white chocolate over the set top for contrast
- Stir a teaspoon of vanilla bean paste into the caramel
How to Serve It
Cut into 24 squares and serve with strong coffee, or arrange on a dessert platter alongside fresh berries and shortbread for gatherings. It also works beautifully as a lunchbox treat or a bring-a-plate contribution.
Where to Find Inspiration in Melbourne and Beyond
Some of our best baking ideas come from walking into a patisserie and studying how the professionals layer, cut and finish their work. Melbourne patisseries like Brunetti and Lune Croissanterie are known for their pastries and desserts, and both are worth a visit when you need a creative reset. Local bakeries across the suburbs are just as inspiring — watch how they cut their slices, how thick the chocolate layer is, and how they balance sweetness with salt.
Bringing Patisserie Style Home
You don’t need a commercial kitchen to get a professional finish. Lining your tin properly, chilling between layers and cutting with a warm knife will get you 90% of the way there. The rest is just practice — and eating the evidence.
This slice bridges the nostalgia of a childhood chocolate bar with the kind of clean, layered finish you’d expect from a good patisserie. It’s forgiving enough for a first attempt and impressive enough to take to a party, and it’s endlessly adaptable once you know the formula.
FAQ
Can I use milk chocolate instead of dark chocolate?
Yes. Milk chocolate gives a softer, sweeter topping that sets less firmly, so keep the slice in the fridge until serving and cut it while cold.
Why did my caramel turn grainy?
Graininess usually comes from heat that’s too high or from stirring too little. Keep the saucepan over medium heat and stir continuously, scraping the base, and the golden syrup will help keep the texture smooth.
How long does this slice keep?
Stored in an airtight container in the fridge, it keeps for up to a week. It also freezes well for up to three months when wrapped individually.
Can I make it without a food processor?
Absolutely. Place the biscuits in a sturdy zip-lock bag and crush them with a rolling pin until you reach a fine, even crumb.
Are peanuts essential, or can I leave them out?
You can leave them out, but they add the salty crunch that balances the caramel. Macadamias, hazelnuts or even crushed pretzels make good substitutes.