
Plated Desserts at Home: Restaurant Techniques Made Simple
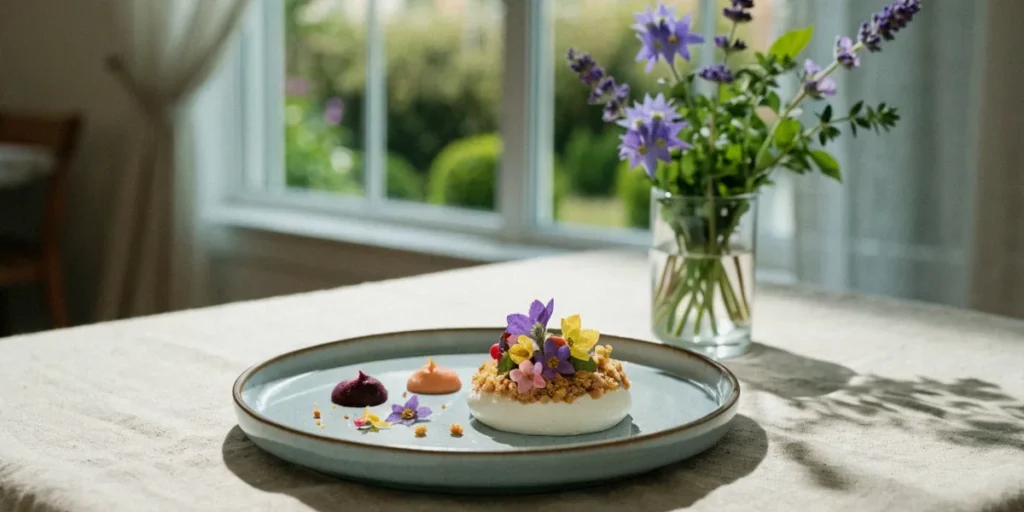
You’re flicking through photos of a dessert from a high-end Melbourne restaurant — a glossy chocolate sphere, a perfect quenelle of sorbet, delicate shards of tuile — and you think, “I could never do that at home.” We hear this constantly, and we want to set the record straight. With a bit of guidance and a willingness to practise, anyone can plate desserts that look like they came out of a professional kitchen. This guide breaks down the techniques, tools and thinking behind restaurant plating so you can bring that polish to your own table.
Why Plated Desserts Are Easier Than You Think
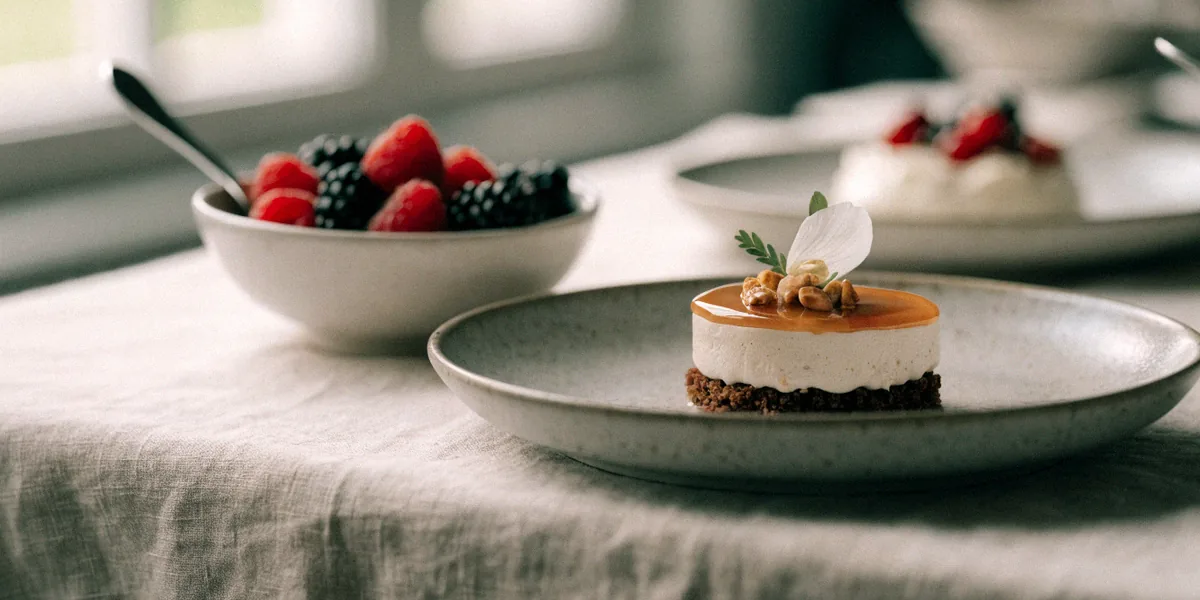
The biggest myth about plated desserts is that they require years of culinary school. They don’t. Australian home cooks are already producing some of the most technically impressive desserts in the world — pavlova, a beloved Australian dessert traditionally topped with cream and fresh fruit like passionfruit and strawberries, is a perfect example. Lamingtons, chocolate ripple cake and golden syrup dumplings all demand timing and technique. Plating is simply the final refinement of skills you already have.
Melbourne is home to renowned patisseries such as LuxBite and Burch & Purchese, known for innovative plated desserts. Their work looks intimidating, but the underlying principles are straightforward: balance flavours, control temperature, and create visual contrast. Once you understand those three ideas, you’re most of the way there.
The Only Three Tools You Actually Need
You don’t need a pantry full of specialty equipment. Start with these:
- An offset spatula — for smoothing creams, spreading bases and lifting delicate components.
- A fine-mesh sieve — for dusting cocoa, icing sugar and creating smooth coulis.
- A pair of spoons — for quenelles, drizzling and shaping. That’s it.
Everything else — squeeze bottles, plating rings, tweezers — is a bonus, not a requirement.
How Melbourne Patisserie Chefs Think About Plating
Professional chefs don’t start with a picture in their head. They start with a flavour profile, then build texture and temperature contrast around it. A typical plated dessert has four to five components: a base, a cream, a crunch and a sauce. Each element serves a purpose. Nothing goes on the plate purely for decoration. If you adopt that mindset, your plating will immediately look more intentional.
Core Techniques: From Quenelles to Tuiles
These are the building blocks you’ll see in any Melbourne patisserie. The good news is that all of them can be practised with everyday kitchen items.
Quenelling: The Two-Spoon Method
Quenelles are those elegant egg-shaped scoops of ice cream, sorbet or ganache. The classic technique uses two spoons warmed in hot water. Scoop a generous amount onto one spoon, then use the second spoon to sweep the mixture back and forth until it forms a neat oval. It takes a few tries, but the result is worth it. If you’re working with ice cream, let it soften for a minute or two first.
Chocolate Garnishes Without a Tempering Machine
Callebaut chocolate is a professional-grade brand widely used in Australian patisserie kitchens for its reliable tempering properties. You can temper it at home using a simple bain-marie and a thermometer. Melt two-thirds of your chocolate to 45°C for dark (or 40°C for milk), cool it to 27°C by adding the remaining chocolate, then bring it back to 31°C. Spread thinly on baking paper, let it set, and you have shards, curls or decorative triangles.
Fruit Coulis and Purees: Simple Ratios
A coulis is simply fruit puree with sugar and a little acid. Use roughly 500g of fruit to 80g of caster sugar, adjusting to taste. Blend, strain through a fine sieve, and you’re done. Passionfruit, mango and raspberry all work beautifully. For a glossy finish, add a teaspoon of glucose syrup.
Building a Plated Dessert: Component by Component
Let’s walk through a sample dessert with an Australian twist: a pavlova roulade with mango and passionfruit. This uses familiar flavours but presents them in a fine-dining format. For reliable results, we recommend Queen vanilla extract — a common pantry staple in Australian home baking, trusted for consistent flavour — and Callebaut chocolate for any garnishes.
The Base: Crumbs, Sponges and Meringues
Your base provides structure and often a textural contrast. It could be a thin layer of sponge, a crumbled biscuit, or in this case, a rolled meringue. Spread your pavlova mixture thinly on baking paper, bake until crisp outside but still pliable, then roll with cream and fruit.
The Cream: Whipped, Chantilly or Cremeux
Cream adds richness and helps bind the plate together visually. Whipped cream with a touch of Queen vanilla extract is classic. For something more refined, try a cremeux — a set custard that’s silky and rich. Pipe or quenelle it onto the plate for a clean look.
The Crunch: Tuiles, Praline and Nuts
Every good plated dessert needs crunch. Tuiles are thin, crisp biscuits that can be shaped while warm. Praline — caramelised nuts blitzed to a paste or powder — adds both texture and depth. Scatter a few pieces across the plate for height and interest.
The Sauce: Coulis, Caramel and Chocolate
Sauce ties everything together. Drizzle it, dot it, or pool it beneath your components. A passionfruit coulis cuts through the sweetness of meringue beautifully. A salted caramel adds richness. Chocolate sauce, made with good-quality dark chocolate, brings intensity.
Australian Dessert Twists on Classic Plating
We love taking iconic Australian desserts and giving them a fine-dining treatment. Native Australian ingredients like finger lime and wattleseed are increasingly used in modern dessert plating, and they’re a wonderful way to add a distinctly local touch.
Pavlova: Deconstructed and Elegant
Instead of one large pavlova, break the meringue into shards and layer them with whipped cream, fresh strawberries and passionfruit pulp. Add a finger lime garnish for a burst of citrus. The flavours are identical to the classic, but the presentation feels refined.
Lamington: From Bakery to Plate
Cut a lamington into a neat rectangle, pipe a line of raspberry jam alongside it, and add a quenelle of vanilla cream. Finish with toasted coconut and a thin sheet of tempered chocolate. It’s the same lamington you grew up with, just plated with intention.
Chocolate Desserts with Bush Tucker Flair
Wattleseed has a roasted, coffee-like flavour that pairs beautifully with dark chocolate. Fold it into a mousse or cremeux, then plate with chocolate shards, a quenelle of wattleseed ice cream, and a drizzle of caramel. It’s a dessert that feels both familiar and distinctly Australian.
Practice Plan: From Weeknight to Dinner Party
Melbourne patisserie chefs often rehearse plating on plain plates before service. We suggest the same approach at home. Here’s a progressive plan to build your skills.
Week 1-2: Master One Sauce and One Crunch
Pick a single coulis and one crunchy element — say, a raspberry coulis and a batch of tuiles. Make them repeatedly until you’re confident. Don’t worry about full plates yet.
Week 3-4: Add a Cream and a Base
Now introduce a cream and a base. Practise quenelling your cream and positioning your base neatly on the plate. Start combining two or three components.
Week 5: Full Plate Rehearsal
Assemble a complete dessert with all four components. Plate it three or four times in one sitting, adjusting as you go. By the end, you’ll have a repeatable design you can serve at your next dinner party.
Common Mistakes and How to Fix Them
Even top Melbourne patisserie kitchens adjust for humidity, which is crucial in Australian summers. Here are the mistakes we see most often — and how to avoid them.
Too Many Components: Edit Ruthlessly
More isn’t better. Four or five well-executed components will always beat eight scattered ones. If something doesn’t add flavour or texture, leave it off.
Temperature Control: Cold Cream, Warm Sauce
Serve cream and ice cream cold, and sauces warm. If your plate is warm, everything will melt before it reaches the table. Chill your plates in the fridge for 15 minutes before plating.
Humidity and Meringue: Australian Summer Tips
Meringue goes soft in humid weather. On hot, sticky days, assemble your pavlova components at the last minute. Store meringue in an airtight container with a silica packet if you have one.
FAQ
Do I really need Callebaut chocolate for garnishes?
Not strictly, but it makes a noticeable difference. Callebaut is a professional-grade brand widely used in Australian patisserie kitchens for its reliable tempering properties, so it’s more forgiving if you’re new to tempering.
Can I make quenelles without two spoons?
You can use a single spoon and a small bowl of hot water, but the two-spoon method gives the cleanest shape. Warm both spoons in hot water and dry them before each quenelle.
What native Australian ingredients work best for dessert plating?
Finger lime and wattleseed are our favourites. Finger lime adds bright citrus pearls, while wattleseed brings a roasted, nutty flavour that pairs well with chocolate and caramel.
How far ahead can I prepare components?
Coulis and tuiles keep well for several days. Meringue should be made the day before serving. Cream and ice cream are best prepared fresh or within a few hours of plating.
Is plating really worth the effort for a family dinner?
Absolutely. Even a simple dessert plated with care feels special. Start with one technique — a quenelle or a drizzle — and build from there.
Plated desserts aren’t about perfection. They’re about paying attention to texture, temperature and visual balance — and enjoying the process of getting better with each attempt. Keep experimenting, keep tasting, and don’t be afraid to serve something a little imperfect. That’s how everyone starts.