
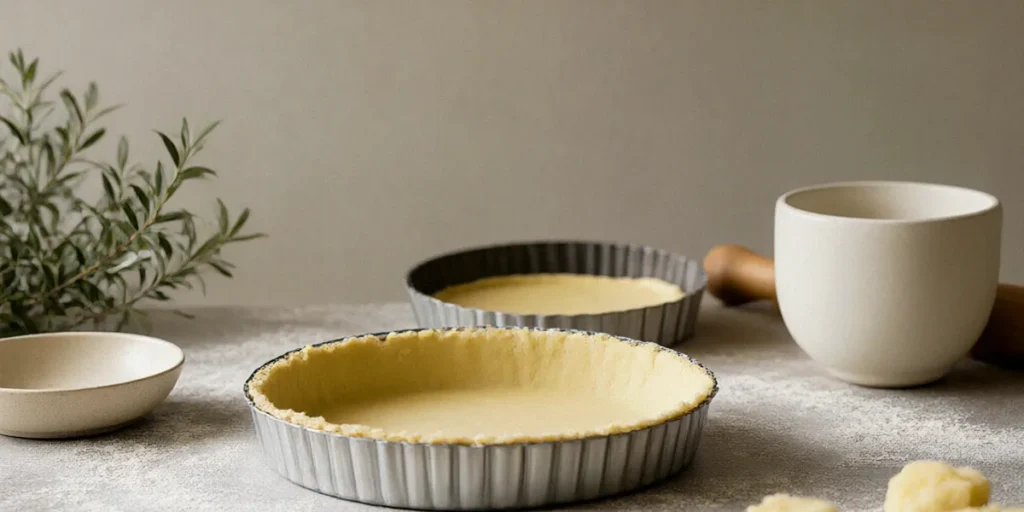
Perfect Shortcrust: Tips for Tart Shells
You’ve rolled the dough, lined the tin, filled it with your best lemon meringue mixture, and slid it into the oven with high hopes. Twenty minutes later, you pull out a shell that has shrunk away from the edges like it’s trying to escape, or worse, a soggy base that refuses to crisp no matter how long you bake it. We’ve been there, and we know how frustrating it feels to put in the effort only to end up with a tart that disappoints. The good news is that shortcrust is one of the most forgiving pastries once you understand a few core principles. In this guide, we’ll walk you through everything you need to know to achieve crisp, buttery, golden shortcrust every single time, from choosing the right butter to blind baking like a professional.
Why Shortcrust Matters for Australian Tarts
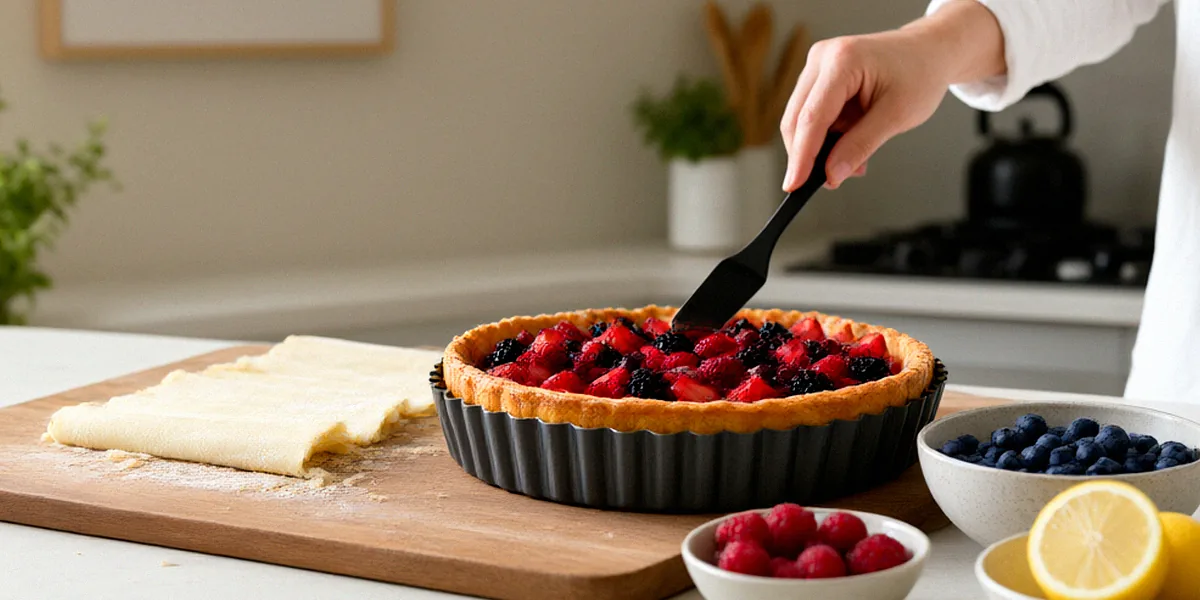
Shortcrust pastry is the backbone of so many classic bakes in Australia. Think of a bright lemon meringue tart with its crisp, buttery base, or a hearty meat pie with a golden, flaky shell that holds up to a rich filling. Whether you’re baking for a weekend afternoon tea or preparing a batch of pies for a family gathering, mastering shortcrust opens up a world of possibilities. The pastry itself is simple, made from just flour, fat, water, and a pinch of salt, but the technique behind it determines whether you end up with something extraordinary or something that ends up in the bin.
For Australian home bakers, the key lies in understanding your ingredients. Cold butter is non-negotiable; it creates pockets of fat that melt during baking and produce that coveted flaky texture. The flour you choose also matters. Lighthouse Bread & Pizza Flour is a reliable choice for pastry because of its consistent protein content, which gives structure without making the dough tough. Alternatively, plain flour from brands like White Wings works beautifully for a more tender crumb. Once you’ve got these basics right, you’re already halfway to a perfect tart shell.
The Science of Shortcrust: Fat, Flour, and Water
At its core, shortcrust is a lesson in balance. The fat, whether butter or a combination of butter and lard, coats the flour proteins and limits gluten development. This is what gives shortcrust its characteristic tenderness rather than the chewiness you’d find in bread. Water brings the dough together, but too much of it activates gluten and leads to a tough shell. The trick is to add just enough iced water to bind the dough without making it sticky. When the butter stays cold and in visible pieces, it creates steam during baking, which lifts the layers and produces that lovely flaky texture.
Common Shortcrust Problems: Shrinkage, Sogginess, and Toughness
Most shortcrust disasters come down to three issues. Shrinkage happens when the gluten is overworked or the dough isn’t rested long enough before baking. Sogginess occurs when the filling seeps into the pastry before it has a chance to set, or when the shell isn’t blind baked properly. Toughness is usually a result of too much water, warm butter, or overhandling. The good news is that each of these problems has a straightforward fix, and we’ll cover them all as we go.
Essential Ingredients and Tools for Perfect Shortcrust
Before you start, it’s worth gathering everything you need. Shortcrust doesn’t require fancy equipment, but having the right ingredients and tools on hand makes the process smoother and more predictable. Here’s what we recommend for Australian home bakers.
- Cold unsalted butter: Western Star butter is a popular Australian brand for baking, and its consistent fat content makes it ideal for pastry. Cut it into small cubes and keep it in the fridge until the last moment.
- Plain flour: Lighthouse Bread & Pizza Flour or White Wings plain flour are both excellent choices.
- Salt: Just a pinch enhances the flavour of the pastry.
- Iced water: Add it gradually; you may not need all of it.
- Tart tin: Wiltshire and MasterClass tart tins are widely available in Australia and come in a range of sizes.
- Baking weights: Ceramcor pie weights are an Australian brand specifically designed for blind baking.
Choosing the Right Butter and Flour
Butter is the heart of shortcrust. We prefer unsalted butter because it lets us control the seasoning, and Western Star is a dependable choice that’s easy to find in most Australian supermarkets. If you’re using a European-style butter with higher fat content, you’ll get an even richer flavour, but standard Australian butter works perfectly well. As for flour, Lighthouse Bread & Pizza Flour is a favourite among bakers who want a reliable, consistent result. Its protein level is high enough to give structure but not so high that the pastry becomes tough. If you prefer a more traditional option, White Wings plain flour is a staple in many Australian pantries and performs beautifully in shortcrust.
Must-Have Tools: Tart Tins, Weights, and More
A good tart tin makes a world of difference. Wiltshire and MasterClass tart tins are widely available in Australia and come with removable bases, which makes unmoulding your tart much easier. For blind baking, you’ll need baking paper and something to weigh down the pastry. Ceramcor pie weights are an Australian brand that we highly recommend; they’re ceramic, reusable, and distribute heat evenly. If you don’t have pie weights, dried rice or beans work in a pinch, though they can’t be used for cooking afterwards. A food processor is handy for cutting the butter into the flour quickly, but you can also use a pastry blender or your fingertips.
Step-by-Step: Making and Resting the Dough
Making shortcrust is a gentle process. The goal is to handle the dough as little as possible while still bringing it together. Here’s how we do it.
- Combine dry ingredients: Sift the flour and salt into a large bowl or the bowl of a food processor.
- Add cold butter: Drop in the cubed butter and pulse or rub with your fingertips until the mixture resembles coarse breadcrumbs. You should still see small flecks of butter.
- Add iced water: Sprinkle in the iced water a tablespoon at a time, mixing gently until the dough just comes together. Stop as soon as it holds when pressed.
- Form a disc: Turn the dough out onto a lightly floured surface, shape it into a flat disc, and wrap it in plastic wrap.
- Chill: Refrigerate for at least 30 minutes, or up to two days.
Mixing Techniques: Food Processor vs. By Hand
Both methods work well, but they suit different styles. A food processor is faster and helps keep the butter cold, which is a big advantage on warm Australian days. However, it’s easy to over-process the dough, so pulse in short bursts and stop as soon as the mixture looks like breadcrumbs. Mixing by hand gives you more control and lets you feel when the dough is ready. Use your fingertips to rub the butter into the flour, lifting and crumbling as you go. The key is to work quickly and lightly so the butter doesn’t melt.
The Importance of Chilling and Resting
Chilling the dough is not optional. It relaxes the gluten, which prevents shrinkage during baking, and it firms up the butter so the pastry holds its shape when you roll it. We recommend at least 30 minutes in the fridge, but if you have time, an hour is even better. If you’re in a hurry, you can pop it in the freezer for 15 minutes, but don’t let it freeze solid.
Rolling, Lining, and Blind Baking Like a Pro
Rolling and lining the tin is where many bakers run into trouble. The dough can crack, stick, or tear, and before you know it, you’re patching holes and hoping for the best. Our approach is simple: roll the dough between two sheets of baking paper. This prevents sticking, eliminates the need for extra flour, and makes it easy to transfer the dough to the tin without stretching it.
Once the dough is rolled to about 3mm thick, peel off the top sheet of paper, invert the dough over your tart tin, and gently press it into the corners. Don’t stretch the dough; let it settle naturally. Trim the edges, leaving a small overhang, and prick the base with a fork. Then, place the lined tin in the freezer for 15 minutes before blind baking. This step is crucial for preventing shrinkage.
Rolling Without Tears: Tips for Even Thickness
Even thickness is the goal, but it’s easy to end up with thin edges and a thick centre. To avoid this, rotate the dough a quarter turn after each roll and apply gentle, even pressure. If the dough starts to crack, let it warm up slightly and press the cracks together with your fingers. Rolling between baking paper also helps because the paper supports the dough and prevents it from tearing.
Blind Baking: Why and How to Do It Right
Blind baking ensures the base of your tart is fully cooked before you add a wet filling. Without it, you’ll end up with a soggy bottom. Here’s how we do it:
- Preheat your oven to 190°C (170°C fan-forced).
- Line the chilled pastry with a sheet of baking paper and fill it with Ceramcor pie weights or dried rice.
- Bake for 15 minutes, then remove the paper and weights.
- Return the shell to the oven for another 5–10 minutes, or until the base is golden and dry.
- If you’re filling the tart with a wet mixture, brush the base with egg wash and bake for another 2 minutes to seal it.
Troubleshooting and Baking with Australian Flair
Even with the best technique, things can go wrong. Here’s how we troubleshoot the most common shortcrust issues and how to add a distinctly Australian touch to your tarts.
Fixing Shrinkage and Cracks
Shrinkage usually means the dough wasn’t rested enough or was stretched when lining the tin. Next time, chill the dough for longer and avoid pulling it into the corners. If cracks appear after baking, you can patch them with a little raw dough and return the shell to the oven for a few minutes. For sweet tarts, adding a tablespoon of caster sugar to the dough can help mask minor imperfections and add a lovely caramelised flavour.
Sealing the Shell: Egg Wash and Chocolate Lining
To prevent soggy bottoms, brush the blind-baked shell with a beaten egg and bake for another couple of minutes. The egg sets and creates a barrier between the pastry and the filling. For chocolate tarts, you can also melt a little dark chocolate and brush it over the base. It sets firm and adds a delicious layer of flavour. This trick works especially well with fillings like ganache or pastry cream.
When it comes to fillings, we love experimenting with native Australian flavours. Macadamia and wattle seed are two of our favourites. Try a macadamia frangipane tart with a hint of vanilla, or a wattle seed custard tart that brings a subtle, nutty, coffee-like note. These flavours pair beautifully with the buttery richness of shortcrust and give your bakes a uniquely Australian identity.
Frequently Asked Questions
Can I make shortcrust pastry ahead of time?
Yes, you can make the dough up to two days in advance and keep it wrapped in the fridge. You can also freeze it for up to three months. Just thaw it overnight in the fridge before rolling.
Why did my tart shell shrink in the oven?
Shrinkage is usually caused by not resting the dough long enough, stretching it when lining the tin, or baking it without chilling it first. Make sure to chill the lined tin in the freezer for 15 minutes before blind baking.
What can I use instead of pie weights?
Dried rice or beans work well, but they can’t be cooked afterwards. Ceramcor pie weights are an excellent Australian-made option that’s reusable and distributes heat evenly.
How do I stop my tart base from going soggy?
Blind bake the shell until it’s golden and dry, then brush it with egg wash or melted chocolate before adding the filling. This creates a seal that keeps moisture out.
Can I use salted butter instead of unsalted?
You can, but you’ll need to reduce or omit the added salt in the recipe. Unsalted butter gives you more control over the flavour, which is why we prefer it.
Perfect shortcrust is a skill that rewards patience and practice. Start with good ingredients like Western Star butter and Lighthouse Bread & Pizza Flour, keep everything cold, and don’t rush the chilling steps. Once you’ve mastered the basics, you can experiment with sweet and savoury fillings, from classic lemon meringue to tarts inspired by native Australian flavours like macadamia and wattle seed. We hope this guide gives you the confidence to roll up your sleeves and bake a tart shell that’s crisp, golden, and utterly delicious.