Layered Peanut-Caramel Desserts: How the Layers Work
Picture this: you’ve spent an afternoon building a glossy peanut-caramel tart, pulled it from the oven with high hopes, and watched the caramel bleed through a soggy base or the chocolate top bloom into a dull, streaky grey. It’s a deflating moment, and we’ve all been there. But here’s the thing we’ve learned after countless test batches: once you understand what each layer is actually doing — and why it behaves the way it does — everything changes. The pastry stops being a gamble, the caramel stops crystallising, and the chocolate sets with a clean snap. This guide breaks the dessert down layer by layer, using ingredients you can grab from your local Woolworths or Coles, so you can build it with confidence rather than crossed fingers.
Why Layered Peanut-Caramel Desserts Are a Benchmark for Home Bakers
These desserts sit at the intersection of three core pastry skills: making pastry, cooking sugar, and tempering chocolate. That combination makes them a genuine test — but it’s also what makes them so rewarding. Unlike a soufflé that collapses if you look at it wrong, a layered peanut-caramel tart is forgiving. You can fix a crumbly base, rescue a slightly grainy caramel, and re-temper chocolate that’s gone out of temper. Each layer teaches you something, and the finished slice rewards you with contrast in every bite.
In Australia, we’re spoiled for quality local ingredients. Pepe Saya butter, a premium cultured butter from New South Wales, gives caramel a rich, slightly tangy depth that plain butter can’t match. Bundaberg sugar, milled in Queensland, brings a warm molasses note to the caramel that pairs beautifully with roasted peanuts. These aren’t gimmicks — they genuinely change the flavour of the finished dessert.
The Appeal of Contrasting Textures
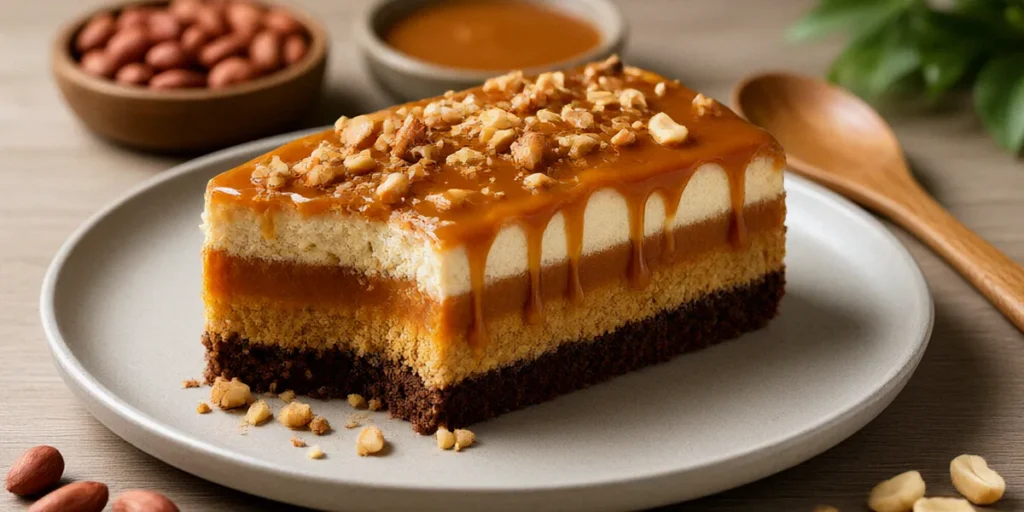
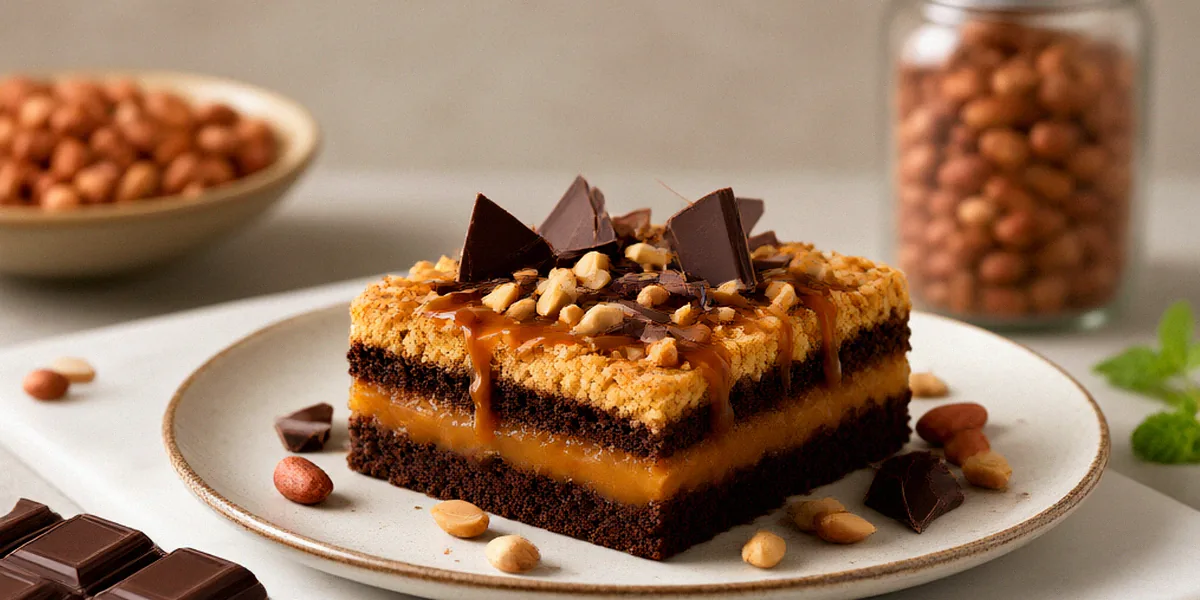
What makes a layered peanut-caramel dessert memorable isn’t just sweetness — it’s the interplay of textures. A crisp, buttery base. A soft, chewy caramel studded with crunchy roasted peanuts. A thin sheet of chocolate that shatters under the fork. And optionally, a cool, lightly whipped cream to cut through the richness. Remove any one of those elements and the dessert feels flatter. The layering isn’t decoration; it’s structure.
Common Pitfalls and How We Fix Them
Most failures come down to a handful of recurring issues. Here’s what we see most often and how to head them off:
- Soggy base: Usually caused by under-baking the pastry or pouring hot caramel onto an unchilled shell. Blind bake fully and let the shell cool completely.
- Grainy caramel: Sugar crystals have formed. Use the wet method and resist stirring once the syrup boils.
- Bloomed chocolate: Fat or sugar has migrated to the surface, usually from poor tempering or rapid temperature changes. Temper properly and store cool.
- Caramel oozing out: The caramel wasn’t cooked to a high enough temperature, or the tart wasn’t chilled long enough before slicing.
Building the Base: Pastry and Crumb Layers
Every great layered dessert starts from the bottom up. You have two solid options: a shortcrust tart shell or a no-bake biscuit crumb base. Shortcrust gives you a crisp, buttery foundation that holds up well to a heavy caramel filling. A crumb base is faster, requires no rolling, and works beautifully if you’re short on time or equipment.
For Australian bakers, we recommend Arnott’s Marie biscuits for a crumb base — they’re a popular choice because they’re neutral in flavour, crush evenly, and bind well with melted butter. Scotch Finger biscuits work too if you want a slightly sweeter, more buttery crumb. Whatever you choose, blind baking is non-negotiable for shortcrust. Without it, the base steams under the caramel and turns to mush.
Shortcrust vs. Crumb: Which Base Works Best?
If you want a classic tart with clean edges and a firm bite, go shortcrust. It rewards patience and gives you that unmistakable pastry snap. If you’re making a slice-style dessert, feeding a crowd, or working in a hot kitchen, a crumb base is more forgiving. Neither is “better” — they simply suit different occasions. We often make both versions depending on the season.
Blind Baking Tips for Australian Ovens
Australian ovens vary wildly in their actual temperature versus what the dial says. We recommend using an oven thermometer and preheating for at least 20 minutes. Line your chilled pastry shell with baking paper and fill with rice, dried beans, or ceramic weights. Bake at 180°C for 15 minutes, remove the weights, then bake another 8–10 minutes until the base is dry and pale golden. If your oven runs hot, drop to 170°C and extend the time slightly.
The Caramel Core: Technique and Temperature
Caramel is where most home bakers either fall in love with pastry or swear off it forever. The goal here is a soft, chewy peanut caramel that holds its shape when sliced but doesn’t shatter or stick to your teeth. That means cooking sugar to the right temperature and stopping crystallisation before it starts.
We use the wet method, which means adding water (and often a little glucose syrup) to the sugar before it hits the heat. Glucose syrup is available from Woolworths and Coles in the baking aisle, and it’s a game-changer — it interferes with crystal formation and gives the caramel a smoother, more pliable texture. A candy thermometer takes the guesswork out of the process. Bundaberg sugar works beautifully here, bringing a deeper, more complex flavour than refined white sugar.
Wet vs. Dry Caramel Methods
The dry method involves melting sugar on its own, which is faster but far more prone to burning and crystallising. The wet method adds water to the sugar, giving you more control and a more even melt. We always recommend the wet method for home kitchens — the extra few minutes are worth the reliability.
Adding Peanuts: Roasted vs. Raw
Always use roasted peanuts. Raw peanuts added to hot caramel will release moisture and steam, which can seize the caramel and leave you with a soggy, uneven texture. Roasted peanuts are drier, crunchier, and hold their texture inside the caramel. If you can only find raw, roast them yourself on a tray at 160°C for 10–12 minutes, then cool completely before folding in.
Troubleshooting Grainy Caramel
If your caramel turns grainy, it’s because sugar crystals have formed on the sides of the pan or in the syrup. To prevent this, brush down the sides of the saucepan with a wet pastry brush as the syrup cooks, and never stir once it’s boiling. If it’s already grainy, you can sometimes rescue it by adding a tablespoon of water and gently reheating while stirring until the crystals dissolve — but prevention is far easier than the fix.
Chocolate Topping: Tempering for Snap and Shine
A properly tempered chocolate top is what separates a homemade dessert from a professional one. Tempering aligns the cocoa butter crystals so the chocolate sets with a glossy shine, a clean snap, and no streaks or bloom. Skip tempering and you’ll get a soft, dull surface that smears when sliced.
We recommend using couverture chocolate rather than compound chocolate. Callebaut, a Belgian couverture, is widely available in Australia through baking suppliers and specialty stores, and it tempers beautifully. Locally made Chocolate Country is another excellent option if you want to support Australian producers. Both have higher cocoa butter content, which is exactly what you need for a proper temper.
Why Tempering Matters for Layered Desserts
In a layered dessert, the chocolate top isn’t just flavour — it’s a structural element. A well-tempered layer slices cleanly, holds its shape at room temperature, and provides that satisfying crack when you cut through it. Untempered chocolate stays soft, smears across the caramel, and looks patchy. It’s the difference between a slice that photographs beautifully and one that looks like it melted on the way to the table.
Seeding Method: Step-by-Step
The seeding method is the most home-kitchen-friendly tempering technique. Here’s how we do it:
- Melt two-thirds of your chopped chocolate in a bowl over simmering water (or in short bursts in the microwave), stirring until smooth and reaching about 45–50°C for dark chocolate.
- Remove from heat and add the remaining one-third of chopped chocolate (the “seed”).
- Stir continuously until the seed melts and the mixture cools to around 31–32°C for dark chocolate.
- Test the temper (see below), then pour immediately over your chilled caramel layer.
Testing Temper Without a Thermometer
No thermometer? No problem. Dip the tip of a clean knife or spatula into the chocolate and let it sit at room temperature for 3–5 minutes. If it sets glossy and firm with no streaks, you’re in temper. If it stays soft or looks streaky, keep stirring and testing — the chocolate just needs to cool a little further.
Assembly and Setting: How the Layers Work Together
Assembly is where everything comes together, and the order matters. Base first, fully cooled. Then the caramel, poured while still warm but not scalding. Then a chill in the fridge until the caramel is firm. Then the tempered chocolate, poured thin and even. Optional whipped cream goes on last, just before serving.
We suggest using a springform pan for easy removal — it makes slicing and serving dramatically simpler, especially for deeper tarts. And here’s something every Australian baker needs to know: our humidity can affect how chocolate sets. On a humid day, your tempered chocolate may stay tacky at room temperature. A short chill in the fridge solves this, though we recommend bringing the tart back to room temperature for 10–15 minutes before serving for the best texture.
Order of Operations for Flawless Layers
Follow this sequence and you’ll avoid 90% of assembly problems:
- Bake and cool the base completely.
- Make the caramel and fold in roasted peanuts.
- Pour caramel into the base and chill until firm (at least 2 hours).
- Temper the chocolate and pour over the chilled caramel.
- Chill again until the chocolate is set (30–60 minutes).
- Add cream, if using, just before serving.
Chilling and Slicing Cleanly
For clean slices, use a sharp knife dipped in hot water and wiped dry between each cut. Press down firmly rather than sawing. Let the tart sit at room temperature for 10 minutes before slicing — this softens the caramel just enough to cut without cracking the chocolate.
Serving and Storing Layered Peanut-Caramel Desserts
These desserts taste best at room temperature, where the caramel is soft and chewy and the chocolate has a gentle snap. Straight from the fridge, the caramel turns firm and the chocolate loses some of its shine. Let it sit out for 15–20 minutes before serving.
Store leftovers in an airtight container in the fridge for up to five days. If you’re layering cream on top, add it fresh each time rather than storing it on the tart.
Make-Ahead and Freezing Tips
These desserts freeze beautifully for up to a month, which makes them ideal for Australian summer entertaining when you want something impressive but don’t want to be in the kitchen on the day. Freeze the assembled tart (without cream) wrapped tightly in plastic and foil. Thaw overnight in the fridge, then bring to room temperature before serving.
Pairing with Australian Dessert Wines
A rich peanut-caramel tart pairs wonderfully with a late-harvest Riesling or a botrytis Semillon from the Hunter Valley. If you prefer something darker, a tawny port from the Barossa or a muscat from Rutherglen echoes the caramel and peanut notes beautifully. A small glass is plenty — the dessert is rich enough on its own.
Frequently Asked Questions
Can I make this dessert without a candy thermometer?
Yes, but it’s riskier. You can test caramel by dropping a small amount into cold water — if it forms a soft, pliable ball, it’s ready. A thermometer is more reliable, especially for beginners, and they’re inexpensive from most Australian supermarkets.
Why did my chocolate topping crack when I sliced it?
Usually because the tart was too cold when sliced, or the chocolate layer was too thick. Let the tart sit at room temperature for 10 minutes and use a warm, dry knife for cleaner cuts.
Can I use milk chocolate instead of dark for the topping?
Absolutely. Milk chocolate tempers at slightly lower temperatures (around 29–30°C), so adjust your seeding method accordingly. It’ll give a sweeter, creamier finish that pairs well with the peanut caramel.
How do I stop the base going soggy?
Blind bake your shortcrust fully until it’s dry and pale golden, and always pour caramel onto a completely cooled shell. If using a crumb base, chill it firmly before adding the caramel.
Can I make this gluten-free?
Yes. Use a gluten-free biscuit for the crumb base, or make a gluten-free shortcrust with a blend of rice flour and almond meal. The caramel and chocolate layers are naturally gluten-free.
Every layer in this dessert — the pastry, the caramel, the tempered chocolate — is a skill you can practise and improve on its own. Master one, then the next, and suddenly the whole tart feels achievable rather than intimidating. And once you’re comfortable, start swapping in your own local favourites: a different Australian butter, a locally made chocolate, a raw sugar from a nearby mill. That’s how a recipe becomes yours. We’d love to hear what you come up with.