
Tempering Chocolate at Home Without a Marble Slab
We know the feeling: you’ve watched a pastry chef glide melted chocolate across a slab of marble, watched it thicken and shine, and quietly decided that tempering is something that happens in professional kitchens, not yours. Here’s the truth we want to share — a marble slab is a helpful tool, not a requirement. With a heatproof bowl, a saucepan, a digital thermometer and a surface you already own, you can temper chocolate at home to a glossy, snappy finish. Whether you’re coating a tart, dipping strawberries or making delicate curls for a celebration cake, the technique matters far more than the equipment.
Why You Don’t Need a Marble Slab to Temper Chocolate
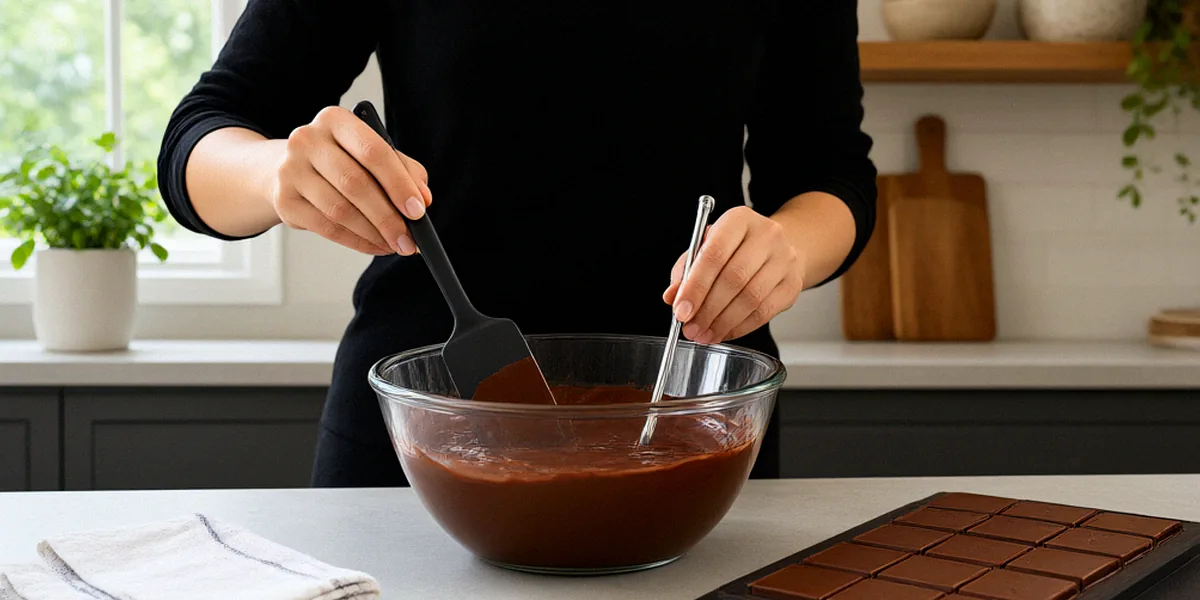
Marble slabs became the standard in professional kitchens because stone holds a cool, even temperature and gives chocolatiers a large working surface. But tempering is really about controlling temperature and movement, not about owning a particular piece of stone. Australian home bakers often use their kitchen benchtops for this job — granite countertops and baking trays are common Australian kitchen surfaces, and both work beautifully. If your bench is cool to the touch and clean, you already have what you need.
The Science of Tempering: What Actually Matters
Cocoa butter is a polymorphic fat, which means it can crystallise into several different forms depending on temperature. Only one of those forms — the stable beta crystal, or Form V — gives chocolate its glossy sheen, clean snap and resistance to melting on your fingers. Tempering is simply the process of encouraging that crystal to form while discouraging the others.
That means three things matter: temperature, agitation and time. You need to melt the chocolate fully to break down old crystals, cool it to the point where the right crystals begin to form, then gently warm it back to a working temperature where it stays fluid but keeps its temper. A slab helps with the cooling step, but a bowl over a saucepan, a seed of unmelted chocolate, or a sous-vide bath can do exactly the same job.
Everyday Surfaces That Work Instead of Marble
- Granite or stone benchtops: Many Australian kitchens already have a granite countertop, which behaves much like marble — cool, smooth and easy to scrape clean with a dough scraper.
- Baking trays: An upturned aluminium baking tray chills quickly and gives you a portable, contained surface for spreading and scraping chocolate.
- Stainless steel benches: Common in older Australian kitchens, stainless steel conducts heat away from chocolate efficiently.
- Ceramic or glass platters: A large flat platter works for smaller batches, provided it’s cool and dry.
The rule is simple: the surface must be completely dry, at room temperature or cooler, and free of grease. A single drop of water will seize your chocolate, so dry everything thoroughly before you begin.
The Seed Method: Tempering Chocolate with Everyday Tools
The seed method is our go-to recommendation for home bakers because it needs nothing more than a bowl, a saucepan and a thermometer. You melt two-thirds of your chocolate, then stir in the remaining third, chopped finely, which “seeds” the correct crystals as it melts. Callebaut and Lindt chocolate are popular choices in Australia for this technique, and both are sold in blocks or callets that chop easily. A digital thermometer is key here — guessing temperatures is the fastest way to end up with streaky, soft chocolate.
Step-by-Step Seed Method
- Chop your chocolate finely and evenly so it melts at a consistent rate. Reserve about one-third of the total weight.
- Place the remaining two-thirds in a heatproof bowl set over a saucepan of barely simmering water. The bowl should not touch the water.
- Stir gently until the chocolate is fully melted and reaches the target melting temperature for its type.
- Remove the bowl from the heat and wipe any condensation from the base with a dry cloth.
- Add the reserved chopped chocolate in three additions, stirring constantly with a dry spatula until each addition melts before adding the next.
- Keep stirring until the chocolate cools to its target tempering temperature. The seed chocolate will melt slowly and pull the whole batch down in temperature.
- If the chocolate drops below the working temperature, briefly return the bowl to the saucepan for a few seconds at a time, stirring constantly, until it comes back up.
- Test the temper with the dip test, then use it immediately while it stays in range.
Choosing the Right Chocolate for Tempering
Not all chocolate tempers equally well. Couverture chocolate — which contains a higher percentage of cocoa butter — flows more freely and gives a thinner, more professional shell than compound chocolate, which uses vegetable fats instead of cocoa butter and doesn’t temper in the same way at all. Look for couverture on the label. Callebaut callets are a favourite among Australian home bakers because they melt evenly and require no chopping, while Lindt blocks are widely available in supermarkets and produce reliable results once finely chopped. Dark chocolate is the most forgiving to temper, milk is slightly trickier, and white chocolate is the most heat-sensitive of all.
The Sous-Vide Method: Precise Tempering Without a Slab
If you own a sous-vide device, you already own one of the most foolproof tempering tools available. Anova and Inkbird sous-vide devices are available in Australia, and both hold water at a precise temperature for as long as you need. Because the chocolate never touches direct heat and the water bath stays within a degree or two, this method removes almost all of the guesswork. It requires no marble slab, no scraping and no sudden drops in temperature.
Setting Up Your Sous-Vide for Chocolate
- Fill a large pot or container with water and set your sous-vide to the melting temperature for your chocolate type.
- Seal chopped chocolate in a vacuum bag or a sturdy zip-lock bag, pressing out as much air as possible.
- Submerge the bag fully and let the chocolate melt, massaging the bag occasionally to keep it even.
- Lower the water temperature to the tempering temperature and continue to massage the bag every few minutes until the chocolate is smooth and uniformly cooled.
- Remove the bag, snip a corner, and pipe or pour the chocolate directly onto your tarts, pastries or baking paper.
Temperature Charts for Dark, Milk, and White Chocolate
- Dark chocolate: Melt to 45–50°C, cool to 27–28°C, then bring back to 31–32°C.
- Milk chocolate: Melt to 45°C, cool to 26–27°C, then bring back to 29–30°C.
- White chocolate: Melt to 45°C, cool to 25–26°C, then bring back to 28–29°C.
Keep these numbers handy on the fridge or in your phone. They are the backbone of every tempering method on this page.
Testing and Troubleshooting Your Tempered Chocolate
Even experienced bakers test before they commit. A quick check saves an entire batch of tarts from a dull, streaky finish. It’s also worth remembering that Australian humidity can affect tempering, so work in a cool kitchen — ideally below 24°C with low humidity — and avoid tempering on a hot, steamy summer afternoon if you can help it.
The Dip Test: Checking Your Temper
Dip the tip of a clean knife, spatula or strip of baking paper into the chocolate and set it aside in a cool spot for three to five minutes. Properly tempered chocolate sets firm, glossy and even, with no streaks or dull patches. If it stays soft, tacky or streaky, the temper hasn’t taken — return the chocolate to the bowl, warm it slightly and repeat the cooling step.
Fixing Common Tempering Problems
- Bloom: A grey, streaky finish means the cocoa butter has crystallised incorrectly or the chocolate has been stored through temperature swings. It’s still perfectly safe to eat — simply retemper it.
- Seizing: If chocolate turns grainy and thick, a drop of water has got in. You can’t rescue seized chocolate for tempering, but you can stir in warm cream to turn it into a ganache.
- Thick, sluggish chocolate: Usually a sign it has cooled below the working temperature. Warm it briefly and stir.
- Soft set: The chocolate was too warm when used, or the room is too hot. Cool the room, or work in smaller batches.
Using Your Tempered Chocolate: Tarts, Garnishes, and More
Once your chocolate is in temper, work quickly and confidently. This is the fun part. Australian brands like Haigh’s and Koko Black inspire our techniques — their glossy dipped centres and clean, sharp chocolate shards are exactly the finish we’re chasing at home, and tempered chocolate is how they get it.
Coating Tarts and Pastries
Brushing a thin layer of tempered chocolate over a blind-baked tart shell creates a moisture barrier that keeps the pastry crisp under wet fillings like ganache, lemon curd or fresh fruit. For a full chocolate coating, pour tempered chocolate over a chilled tart set on a wire rack, letting the excess run off evenly. The chocolate will set with a mirror-like shine in a cool room within minutes.
Making Chocolate Garnishes and Decorations
Spread tempered chocolate thinly across baking paper, let it set partially, then roll it into curls with a dough scraper. Alternatively, pipe tempered chocolate into fine lattice shapes, or dip the base of fresh strawberries and cherries for an instantly elegant finish. Store finished garnishes in a cool, dry place — not the fridge, where condensation will bloom the surface.
FAQ
Can I temper chocolate without a thermometer?
You can, but it’s risky. Experienced chocolatiers read the shine and flow of chocolate by eye, and some use the lip test — dabbing a little chocolate on your lower lip to feel whether it’s slightly cool. For consistent results at home, a digital thermometer costs very little and removes almost all the guesswork.
Why did my tempered chocolate turn grey and streaky?
That’s fat bloom, and it happens when the chocolate sets at the wrong temperature or cools too slowly. It’s harmless to eat. Retemper the chocolate and it will come back glossy and snappy.
Does Australian humidity really affect tempering?
Yes. High humidity slows setting and encourages condensation on the surface of the chocolate, which can cause bloom. Work in a cool kitchen, ideally below 24°C, and avoid tempering on humid summer days if you can.
Can I use compound chocolate instead of couverture?
Compound chocolate contains vegetable fats rather than cocoa butter, so it doesn’t temper in the traditional sense. It melts and sets easily but won’t give you the same snap or shine. For tempering, choose couverture — Callebaut and Lindt are both reliable options in Australia.
How long does tempered chocolate stay in temper?
Once set, properly tempered chocolate holds its temper for months if stored cool, dry and away from strong odours. While you’re working with it, though, the clock is ticking — keep it in the working temperature range and use it within about 20 to 30 minutes.
Tempering chocolate at home is genuinely achievable without a marble slab, a tempering machine or any specialist equipment. A bowl, a saucepan, a digital thermometer and a cool benchtop will get you there, and the sous-vide method is there whenever you want extra precision. Practise the seed method a few times, keep our temperature chart nearby, and you’ll be coating tarts and shaping garnishes with a professional shine before long.